
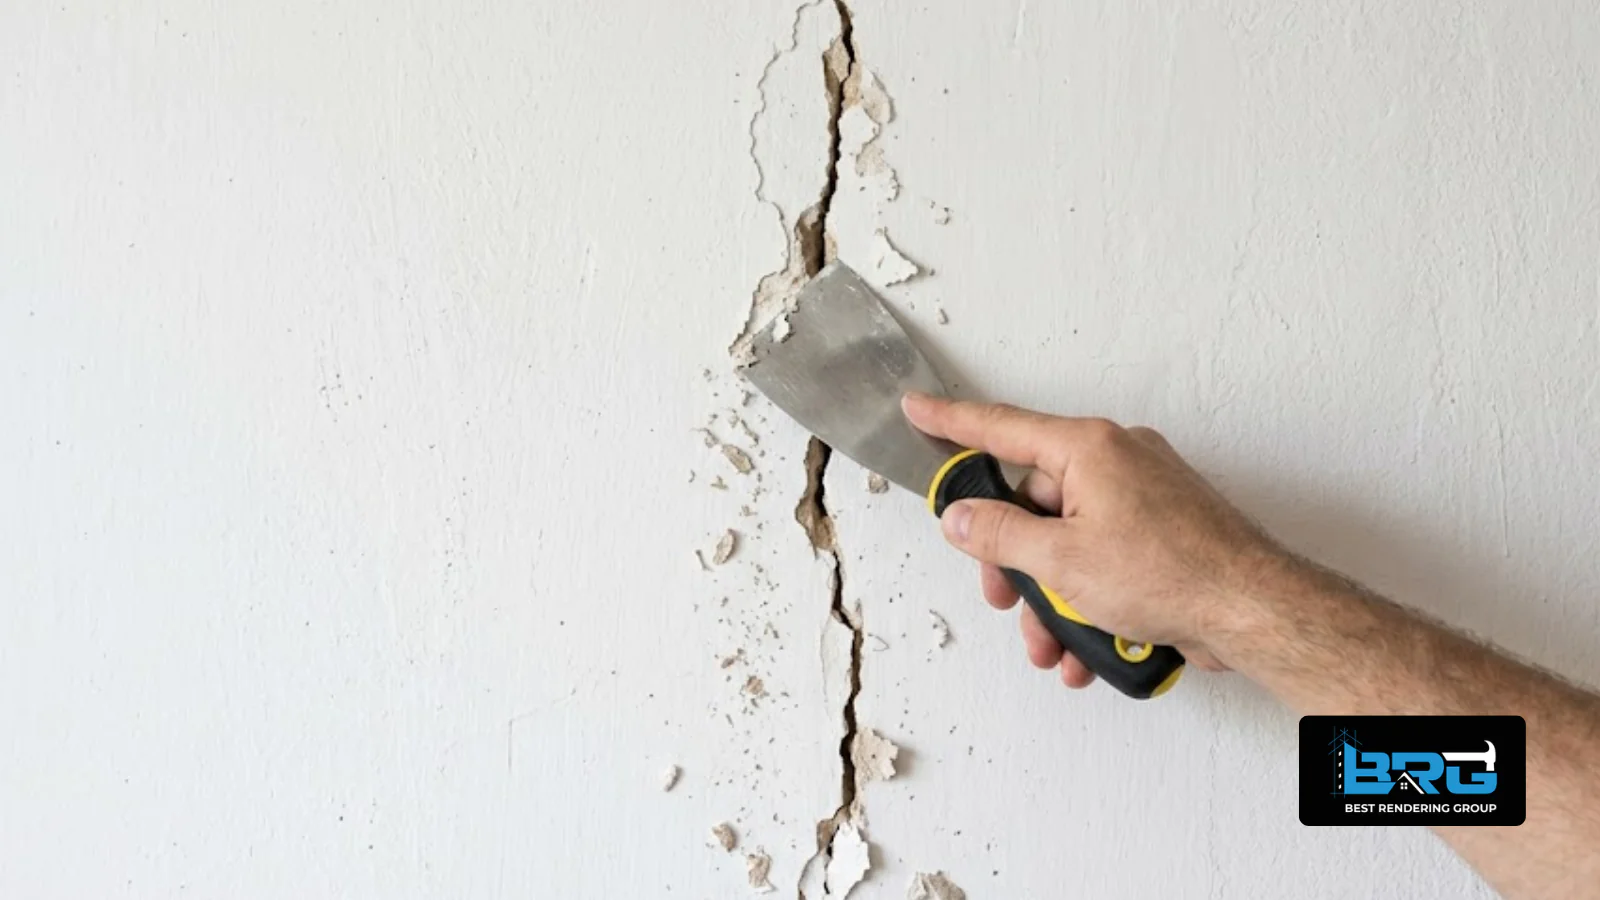
If a crack in your render was patched before and has opened up again in the same spot, you have a common problem. It is also one of the most frustrating in the trade. A crack that returns almost always means the first repair fixed the surface crack, not the root cause, and no amount of filler will change that. Best Rendering Group is often called to fix failed crack repairs across Melbourne's south-east, so we see what typically goes wrong the first time.
If you have not already read it, our broader guide to render repair covers diagnosing general render damage. This article goes deeper into a more specific problem: a repair that did not hold. We explain why repairs fail, what mistakes make cracks come back, what a proper repair includes, and how to stop it happening again.
A crack in render is a symptom, not the problem itself. It appears when something beneath the surface is moving, flexing or letting water in. If a repair only fills the visible gap, the new patch is under the same stress as the original render. It is only a matter of time before it splits again, usually in the same place or at the edge of the patch, where old and new material meet.
That is the biggest difference between a repair that lasts and one that does not. The cause has to be found before the crack is filled. A fast, cheap patch treats the crack as the whole problem. A proper repair treats it as a sign of something else, such as structural movement, a failed bond or water getting in, and fixes that first.
Cracks can also be a moisture problem in disguise. Water seeps into a hairline crack, then expands and contracts with Melbourne's seasonal swings. That keeps the crack working open, no matter how many times it is filled.
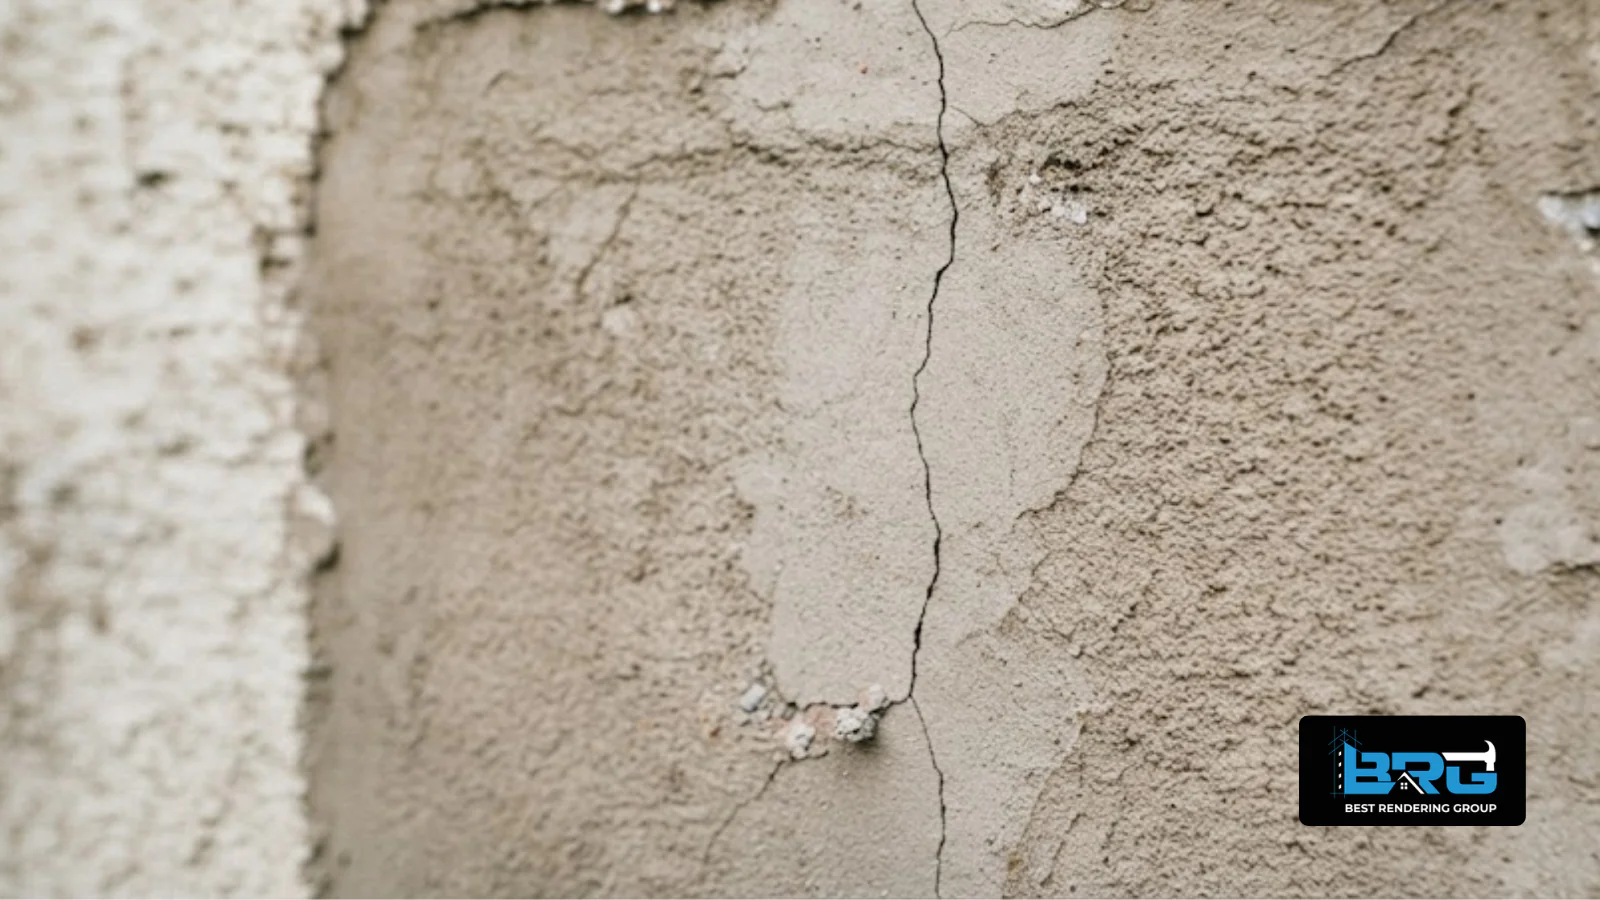
Not every crack deserves the same response. Knowing which type you have is the first step, and it is the step most failed repairs skip. For the broader picture on how render systems behave, our exterior wall rendering guide for Melbourne homeowners is a good starting point, along with our comparison of cement versus acrylic render.
Usually cosmetic: surface shrinkage, minor thermal movement or a thin coat that dried too fast. These are the cracks most often patched, and the most likely to stay fixed if the substrate is sound.
Often follow a construction joint, a change in substrate, or the line of a buried service. A vertical crack that widens towards the top or bottom is worth investigating further.
In masonry, diagonal cracking often follows the mortar joints in a staircase pattern. This is a classic sign of footing movement or differential settlement, and it should be assessed rather than patched.
Frequently linked to retaining walls, render delamination, or a substrate that has moved independently of the finish coat.
A web of fine, interconnected cracks across a large area. It is common where render was over-trowelled, cured too quickly, or applied over an unstable base. Spot-patching map cracking rarely works, because the whole area usually needs attention.
This is the critical distinction. If a crack reopens after monitoring, it is a live movement issue, not a cosmetic one.
In Australian practice, cracks wider than about 5 mm, or cracks that keep moving, should be checked before any cosmetic repair. A suitably qualified building consultant or structural engineer should assess them. Relevant guidance includes AS 2870 for residential slabs and footings, AS 3700 and AS 4773 for masonry, and the Victorian Building Authority's Guide to Standards and Tolerances.
Local conditions are a big part of why so many Melbourne repairs fail.
Parts of Melbourne's south-east, including Clyde, Berwick and Narre Warren, sit on reactive clay. It swells when wet and shrinks when dry, and that seasonal movement travels through the footing and into the render.
A wet winter followed by a dry summer is the classic trigger for movement cracking. Cracks that open in late summer often close again in winter, then reopen the following year.
Render on a west or north-facing wall can swing through a big temperature range in a single day. Rigid cement render has limited tolerance for that, while flexible acrylic systems cope far better. Our acrylic rendering guide explains where each system suits.
In Chelsea, Edithvale, Frankston and across the peninsula, salty air speeds up surface damage. It can also push moisture into existing cracks.
Water pooling at the base of a wall keeps the lower render permanently damp. That is where a large share of repeat cracking starts.
Render behaves differently on brick, block, Hebel, foam and concrete. If a patch material does not suit the substrate, it will move differently from day one. We cover substrate-specific work in our Hebel installation guide, concrete resurfacing guide and foam rendering overview.
Most failed repairs come down to one or more of the following.
This is the most common mistake. A crack is filled and painted over without checking whether it is a hairline surface issue or a sign of structural movement. If the cause is structural, the crack often reopens as soon as the building moves again.
A generic filler, or a render mix that does not match the flexibility of the original system, makes the patch and the surrounding render expand and contract at different rates. That mismatch alone can crack a repair within a year, however well the crack was filled.
Render needs suitable weather and a proper curing period to bond and harden. A patch rushed on a cold or overly hot day, or one rained on before it has cured, often fails faster than the original render did.
Where a building has an engineered movement joint, such as at an extension junction, filling straight across it with rigid render almost guarantees a repeat crack. The joint is designed to move. The render is not.
New material applied on top of a delaminated or unsound patch traps the failure underneath. It looks fine for a season, then fails again, usually worse.
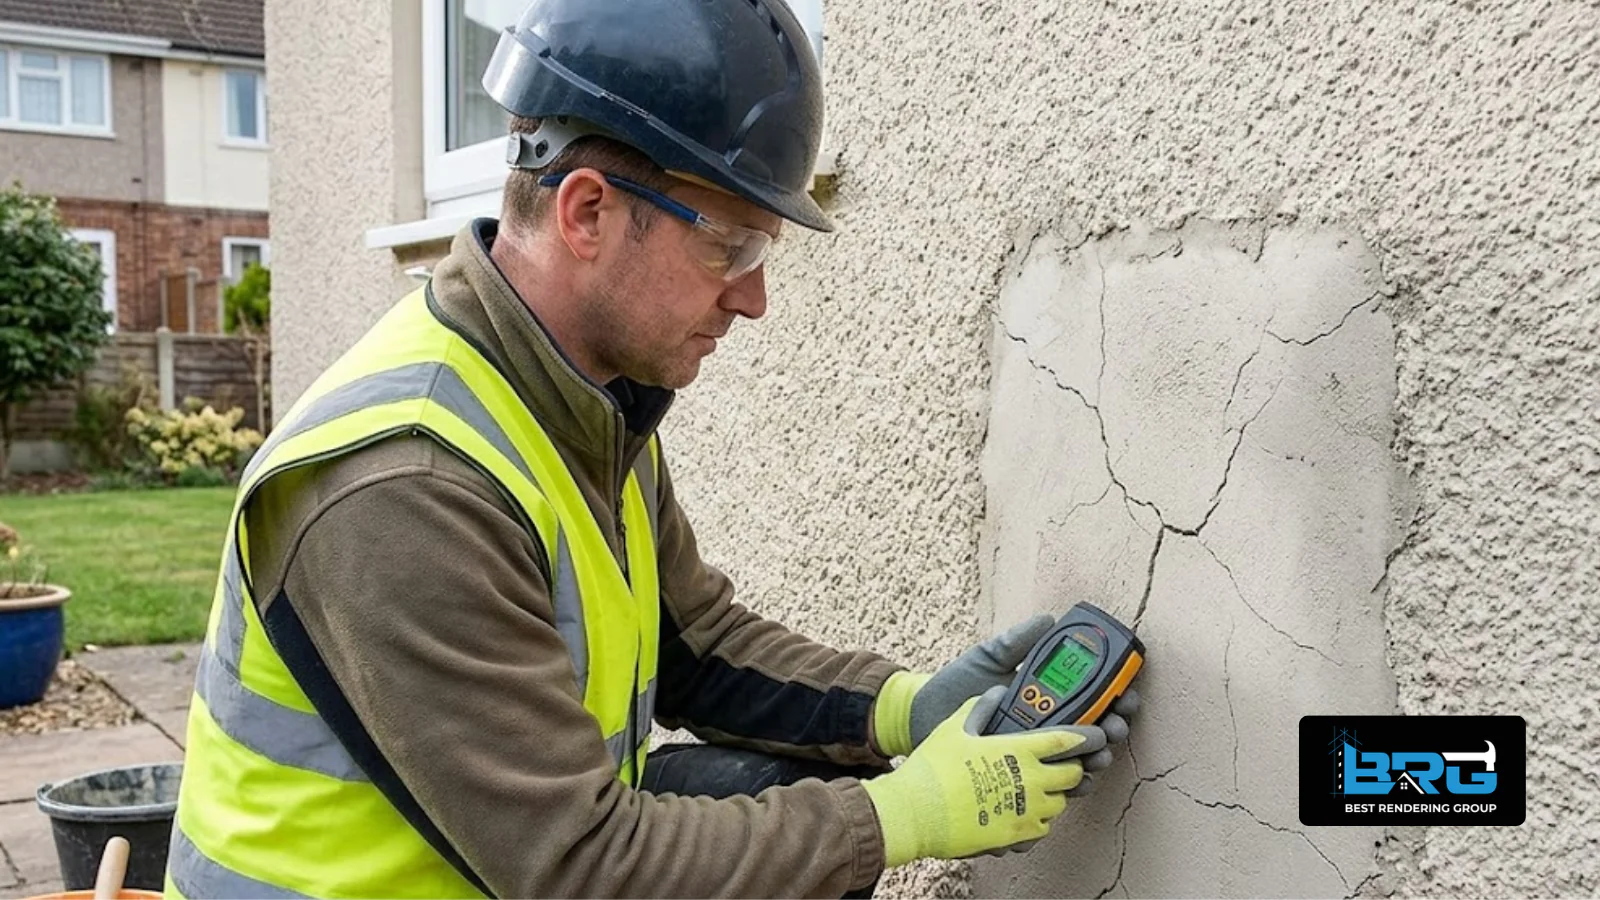
Diagnosis is the part that gets skipped, and it is the part that determines whether the repair lasts. If your render has broader plaster-related symptoms, our article on plastering problems and what they mean covers the wider picture. A proper assessment typically runs in this order.
Only after that can anyone honestly say whether the fix is a patch, a membrane, or a section re-render.
We treat a recracked repair as a fresh diagnosis, not a touch-up of the existing patch. We check for structural movement, water ingress, substrate defects or a failed original bond before choosing a method. The previous repair material is then cut back to a sound edge rather than built over, and we apply either a compatible render or, where chronic movement is the cause, a crack isolation membrane. The repaired section is blended, finished and checked again once fully cured.
We use the same approach on residential and larger-scale work. See our commercial rendering services for how this translates on multi-storey and strata projects.
The right repair depends on what is causing the crack to return. Costs below are indicative only and vary with access, height, extent of cracking, substrate and material selection.
A best-practice repair also includes correct surface preparation, priming, and a compatible exterior coating applied to the manufacturer's instructions, with reference to AS/NZS 2311 where painting is involved.
The cheapest option is rarely the cheapest outcome. A $300 filler job that fails twice in three years costs more than a correctly diagnosed repair done once.
Small hairline cracks in a sound wall are within reach for a confident DIYer. Clean the area, prime it, fill the crack with a compatible flexible filler, then repaint. But there are good reasons to stop there.
Structural cracks cannot be fixed cosmetically. Filling over movement hides the problem and delays proper assessment. Texture matching is harder than it looks. A flat patch on a sponged or rolled finish will always read as a patch. Curing conditions matter. Melbourne's weather windows are narrow, and a rushed cure is close to a guaranteed callback. Warranty and insurance can be affected. DIY repairs can complicate a future building insurance claim and can void contractor warranties on the surrounding render. Rectification costs more. Removing a failed DIY patch is often more work than doing it properly the first time.
If you are choosing someone to fix a repair that has already failed once, our guides on how to find a contractor you can trust and hiring rendering experts cover licensing, insurance, references and what to insist on in writing.
A recent job in Endeavour Hills is a good illustration. The homeowners had the same crack repaired twice with standard patching, and each time it reopened within a season. On assessment, the crack was a live movement issue, not a cosmetic one. The substrate was moving, and the rigid patches had no capacity to accommodate it.
We removed the failed patches back to sound render, treated the area, and applied a flexible crack isolation membrane system before refinishing and blending the section into the surrounding wall. The full scope is documented in our crack repair and membrane coating project in Endeavour Hills. If you are in the Endeavour Hills or Doveton area, this is exactly the situation worth diagnosing properly rather than patching a third time.
Why did my render crack again after it was repaired?+
A repair that cracks again almost always means the original repair filled the visible crack without addressing the cause, such as structural movement, an incompatible patch material, a rushed cure, or a crack cutting across a movement joint. The new patch ends up under the same stress as the old render.
Is the crack structural or cosmetic?+
Hairline cracks under 1 mm in an otherwise sound wall are usually cosmetic. Cracks wider than about 5 mm, diagonal or stepped cracking, and cracks that continue to move after monitoring should be assessed by a building consultant or structural engineer. This is where AS 2870 and the VBA Guide to Standards and Tolerances become relevant.
What is a crack isolation membrane, and when is it needed?+
A crack isolation membrane is a flexible coating applied over a crack-prone area. It absorbs underlying movement before it can transmit through the render surface. It is typically used for chronic or repeat cracking where standard patching has already failed more than once.
Can you render over cracked render?+
Not safely, and not over a crack that is still moving. New render applied over a live crack or a delaminated patch will fail the same way. The failed material needs to be cut back to a sound edge first.
How long should a render repair last before cracking again?+
A properly diagnosed and executed repair should hold for many years, similar to the surrounding render. A repair that fails within the first six to twelve months is a strong sign the original cause was not correctly identified or addressed.
Can a bad repair be fixed without re-rendering the whole wall?+
In most cases, yes. A chronic crack can usually be addressed with a targeted repair or membrane system rather than a full re-render. A full re-render is generally only needed where repeated failed patches have left a larger area compromised.
Is movement in the building always the cause of repeat cracking?+
Not always. Incompatible patch material, rushed curing, or a crack cutting across an engineered movement joint can all cause a repair to fail without genuine structural movement. A proper assessment is the only way to determine which applies.
Does home insurance cover render cracking?+
Generally, no. Most policies exclude cracking caused by gradual movement, settlement or poor maintenance, and cover typically applies only where cracking results from a defined insured event. Check your Product Disclosure Statement, and get a written cause assessment before lodging a claim.
How long before you can paint a render repair?+
It depends on the system and the weather. Cement-based patches generally need to cure for several days to weeks before coating, while some acrylic systems allow recoating much sooner. Painting too early traps moisture and is a common cause of patch failure. Always follow the manufacturer's data sheet.
What is the best time of year to repair render in Melbourne?+
Mild, stable conditions are ideal, typically autumn and spring. Avoid extremes: rendering in the middle of a heatwave or during cold, wet weather affects curing and bonding, and increases the risk of the repair failing early.
How much does it cost to fix a repair that has already failed?+
A re-diagnosed standard patch typically costs between $500 and $1,500, while a crack isolation membrane repair for chronic cracking generally runs from $1,800 to $4,500. A full section re-render is quoted individually. Costs vary with access, height and extent.
A repair that has already failed once deserves a genuinely different approach, not the same fix tried again. A patch that cracks a third time is not bad luck. It is a diagnosis that was never made.
Best Rendering Group handles repeat-repair work across Cranbourne, Berwick, Frankston, Dandenong, Narre Warren and the wider south-east. You can see more of our recent work in our rendering and plastering projects, or check whether we cover your suburb on our areas we serve page. If you are not sure who to trust with a repair that has already failed once, our guide to hiring rendering experts covers exactly what to look for, or you can contact our team for an honest assessment.