
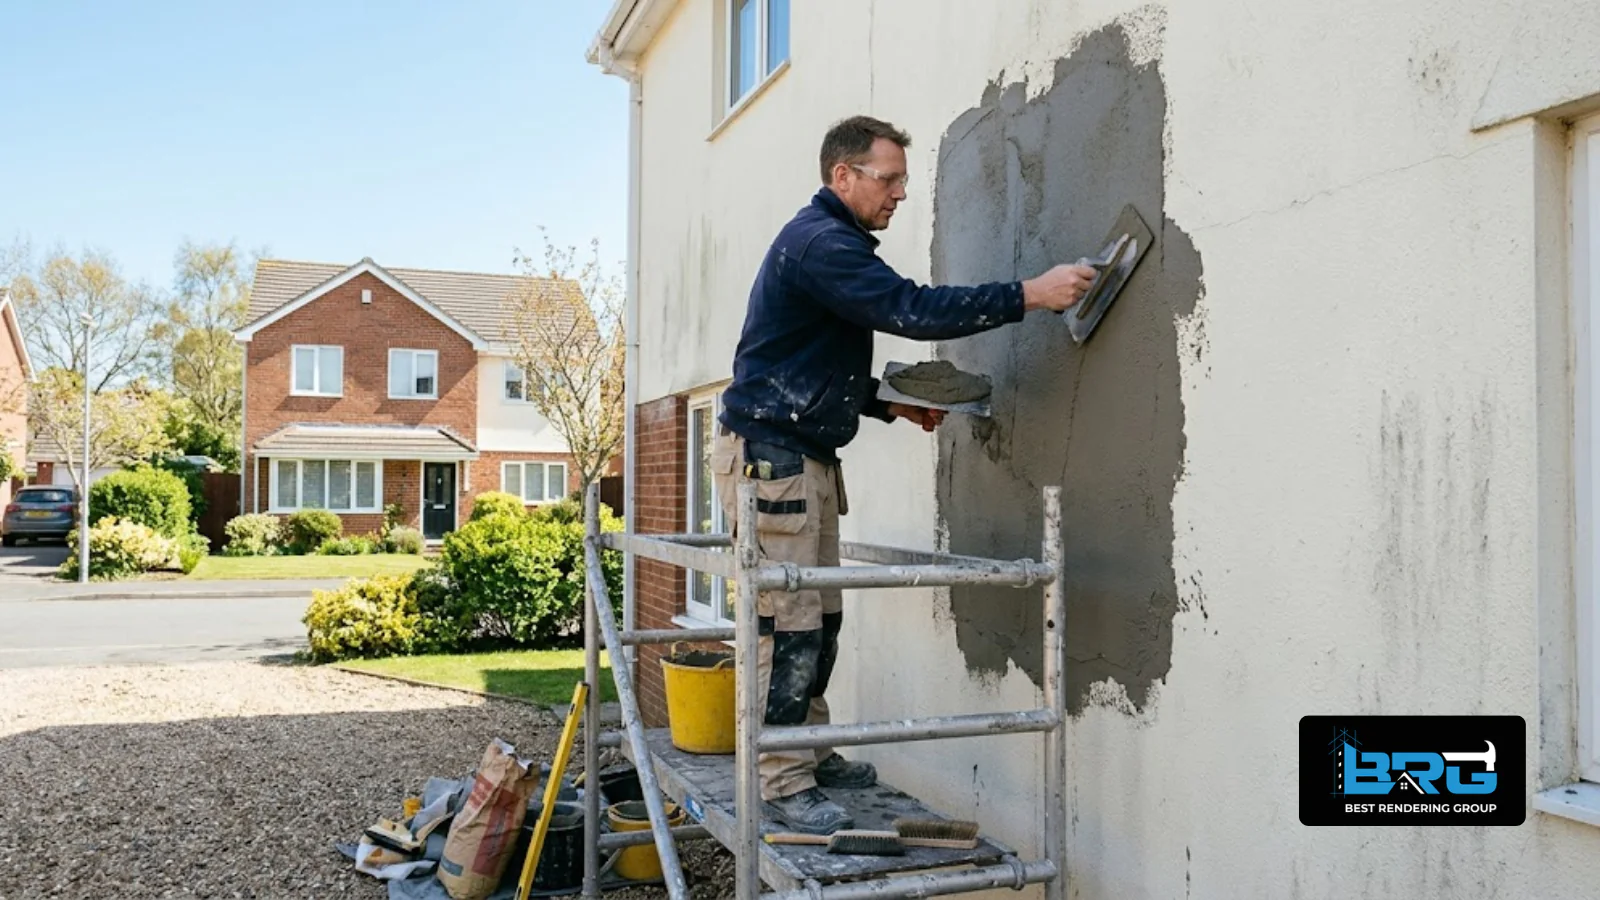
Planning to render your home is about more than choosing the right colour and finish. The weather, condition of the walls and timing of the work can all influence the quality of the finished surface.
If you are planning exterior rendering in Melbourne, you may be wondering whether spring, summer, autumn or winter offers the best conditions. You may also be concerned about rain, hot weather, drying times and whether an unexpected change in the forecast could affect your project.
The best time to render a house in Melbourne is when the weather, substrate and site conditions are suitable for the specific rendering system being used. Mild, reasonably stable weather can make planning easier, but no season guarantees the right conditions. A suitable day in summer may be better than a cold, wet day in autumn, while a mild winter day may still require precautions.
This guide explains how Melbourne's weather can affect exterior rendering, what to consider in each season, how curing and drying work, and how to schedule your project to help achieve a consistent, durable finish.
Whether you own a home in Cranbourne, Berwick, Pakenham, Frankston or elsewhere in Melbourne's south-east, these practical considerations can help you plan your rendering project more confidently.
Spring and autumn can offer favourable opportunities for exterior rendering because they often include periods of moderate temperatures. However, Melbourne's weather can change quickly, so the season alone should never determine whether work goes ahead.
The more important factors are the temperature of the air and wall surface, the likelihood of rain, wind exposure, direct sunlight, humidity and the requirements of the selected render system.
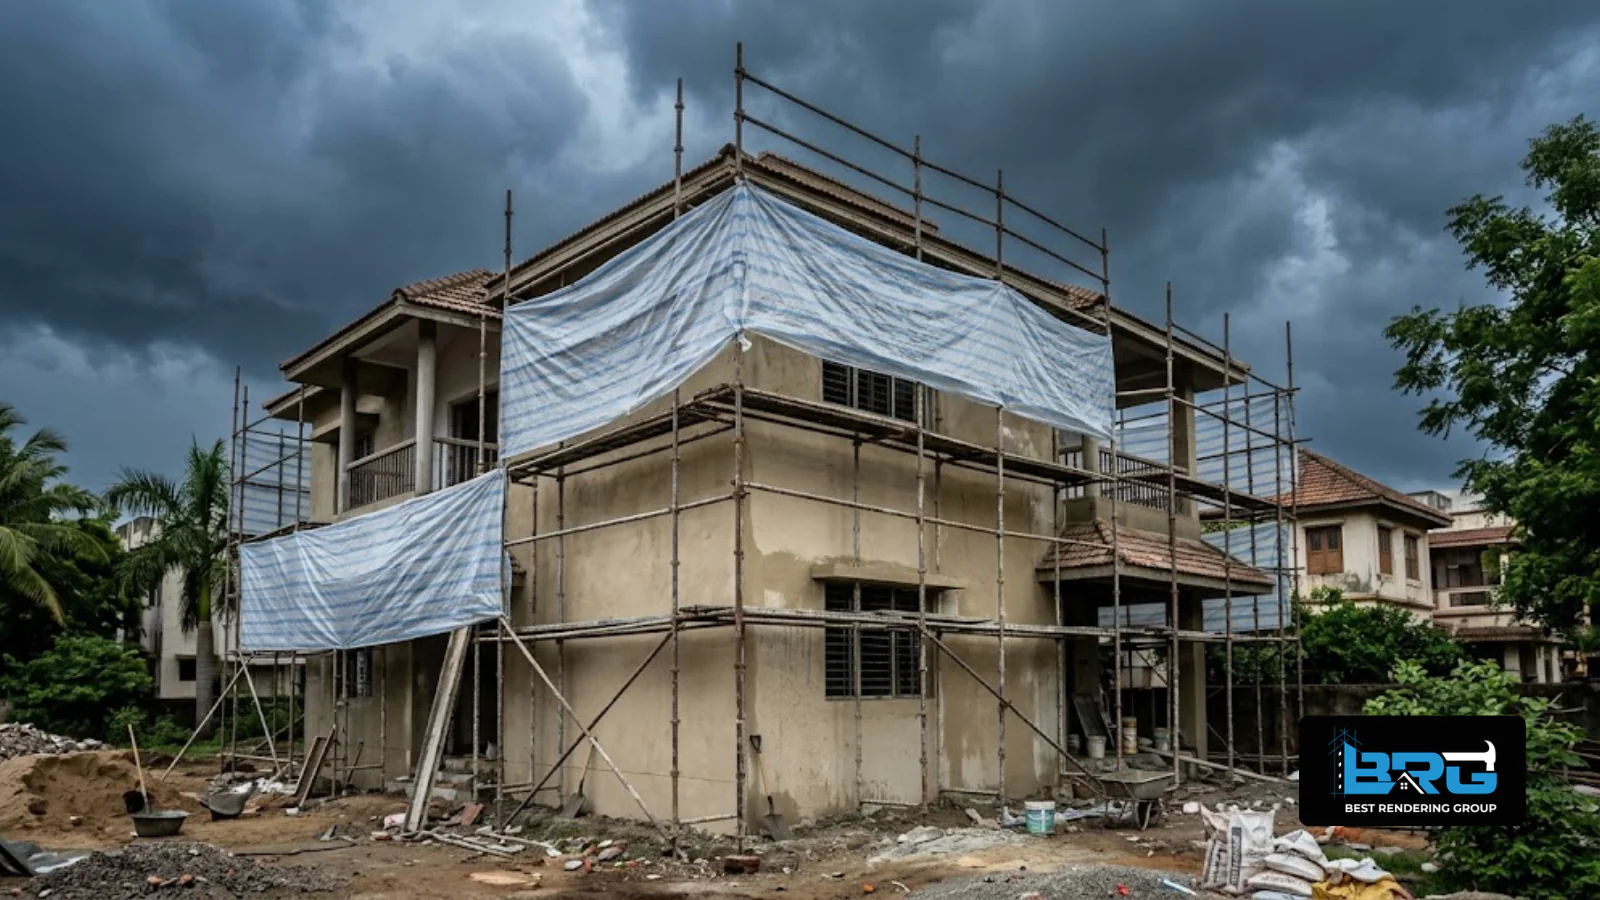
Here is what to consider throughout the year.
Spring can provide suitable conditions for rendering when temperatures are moderate and there is a reliable window of dry weather.
It can also be a practical time to prepare the exterior of a house before the hotter months. However, spring showers, wind and sudden temperature changes may still affect the schedule.
Before confirming a start date, check:
Best approach: Use spring as an opportunity to plan the work, but schedule the actual application around suitable site conditions rather than relying on the season alone.
Summer can provide longer daylight hours, but hot weather can create challenges for rendering.
Direct sunlight can heat an exterior wall well above the surrounding air temperature. Strong winds and low humidity can also cause moisture to evaporate rapidly from some cement-based renders.
Rapid drying may reduce workability, affect curing and contribute to cracking or an inconsistent finish if the product is applied or protected incorrectly.
During hot weather, consider:
The appropriate precautions depend on the specific product. Some rendering systems have different application and curing requirements, so the contractor should follow the relevant technical data sheet.
Best approach: Summer rendering may be suitable when temperatures and wall conditions fall within the system's permitted range and adequate protection can be maintained.
Autumn can offer mild conditions that are suitable for exterior rendering. It may also provide an opportunity to complete exterior improvements before colder winter weather arrives.
However, increasing rainfall, damp substrates and cooler conditions can affect application and drying times.
Before work begins, check that:
Best approach: Autumn can be a suitable period for rendering when a reliable weather window is available and the wall can be protected from rain.
Winter is not automatically unsuitable for rendering, but colder temperatures, rain and slower drying can make scheduling more demanding.
A wall may remain damp for longer, and some products may be unsuitable for application when temperatures are too low or are expected to fall outside the permitted range during curing.
Before scheduling winter work, the contractor should confirm:
Do not assume that a surface is ready for painting simply because it looks dry. Follow the rendering and coating manufacturers' instructions.
Best approach: Winter rendering can proceed when the specific conditions are suitable, but the schedule may need more flexibility.
Weather matters because render is applied to a building surface and must develop the properties required by its particular system. Temperature, moisture and wind can affect how the material behaves during application and afterwards.
Rain can damage freshly applied render, mark the surface or interfere with the material's performance. Water can also saturate the substrate and delay the next stage of work.
Before rendering begins, consider the forecast for the application period and the hours immediately afterwards. Some systems require longer protection periods, particularly where further rainfall could affect the finish.
If rain damages freshly applied render, do not assume that the problem is purely cosmetic. The contractor should assess the surface and determine whether its integrity, adhesion or appearance has been affected.
Hot conditions can shorten working time and cause some materials to stiffen or dry too quickly.
A wall exposed to direct afternoon sun can become much hotter than the surrounding air, increasing the risk of uneven drying and application difficulties.
The solution is not simply to add more water to the mix. Mixing ratios and application procedures must follow the product instructions.
Depending on the system, suitable precautions may include working on shaded elevations, adjusting the sequence of work and protecting fresh render from excessive heat.
Wind can accelerate moisture loss, particularly on exposed walls. It can also make it harder to achieve a consistent finish across a large elevation.
A contractor should consider wind exposure when choosing which wall to work on and how to protect the freshly applied material.
Cold conditions can slow drying and curing, extending the time before subsequent work can begin. Temperatures outside the product's permitted range can also affect application and performance.
Check both the current conditions and the expected temperatures during the relevant application and curing period.
High humidity and limited airflow can slow drying for some systems. Walls that remain damp after rain may not be ready for the next stage of work.
The contractor should assess the substrate and follow the product's preparation requirements rather than relying on a fixed waiting period.
There is no single number of dry days that applies to every rendering project.
The required weather window depends on the render product, substrate, wall exposure, application thickness, temperature and instructions for protecting the work.
Before scheduling the job, your rendering contractor should consider three separate stages.
The substrate must meet the preparation requirements of the selected system. This may include being clean, sound and within specified moisture conditions.
A wall that has recently been exposed to heavy rain may need additional time to become suitable for rendering.
The weather must remain within the product's permitted application conditions. Rain, excessive heat, strong wind or unsuitable surface temperatures may make it necessary to delay work or use approved precautions.
Fresh render may need protection from rain, direct sunlight, wind or other conditions that could affect curing, drying or surface appearance.
The necessary protection period varies by system. Check the manufacturer's instructions rather than assuming that all render products are safe after the same number of hours.
Practical tip: Before confirming the work, ask your contractor how the forecast will be assessed and what protection will be used if the weather changes unexpectedly.
Curing and drying are related, but they are not the same process.
Curing refers to the process by which a material develops its required properties. For cement-based render, this involves cement hydration and appropriate moisture management.
Drying refers to the removal of excess moisture from the material. A render may look dry at the surface while still requiring further time before it is suitable for a coating or another finishing stage.
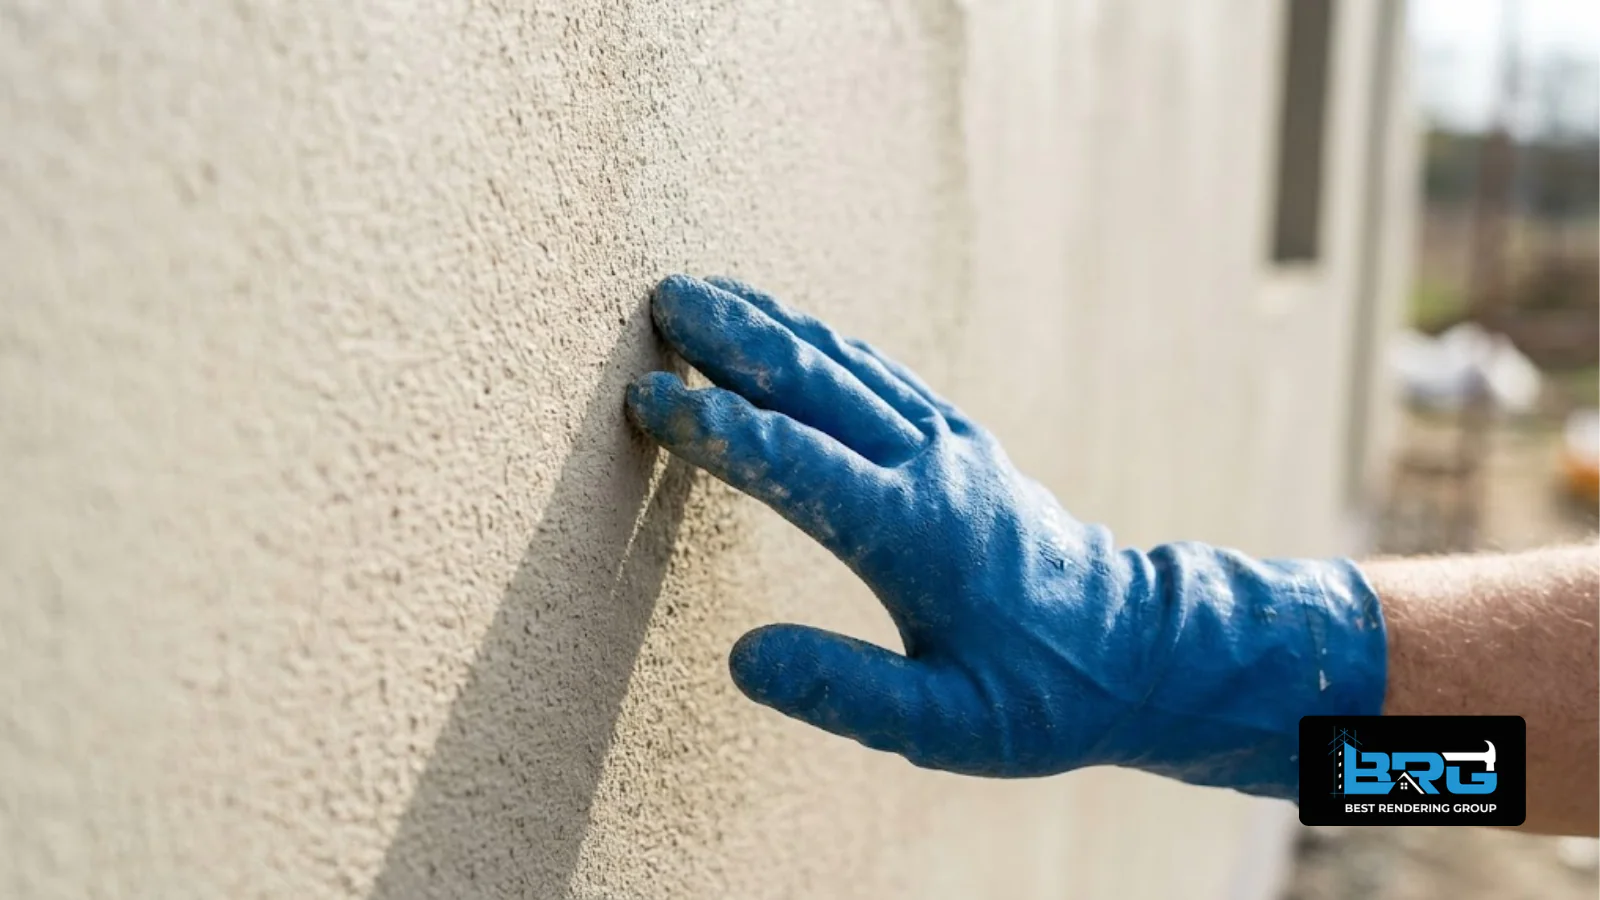
The time required depends on the rendering system, application thickness, substrate, weather conditions and intended next step.
Cement-based render generally requires appropriate curing so that the cement can develop its intended properties. In hot or windy weather, rapid moisture loss may interfere with this process.
Some cement-based products require moist curing, but the method and duration must follow the manufacturer's directions and the substrate requirements.
Acrylic rendering products can have different application, drying and recoating requirements from traditional cement-based materials.
Do not automatically apply the curing method used for cement render to every acrylic system. Follow the relevant product instructions, particularly where a polymer-modified base coat or proprietary coating system is involved.
The time before painting depends on the render, the chosen paint or coating and the conditions on site.
Applying a coating too early can affect adhesion or trap moisture when the system does not permit it. Confirm that the render has reached the condition required by both the render and coating manufacturers.
If you are still deciding on a finish, review the available exterior wall plaster finishes before scheduling the final coating stage.
The weather can influence which products are practical for a particular project, but it should not be the only factor in selecting a render system.
The right choice depends on the substrate, required appearance, product compatibility, application method, site conditions and performance requirements.
Cement-based render can be suitable for compatible masonry substrates and is commonly used where a traditional rendered finish is desired.
Its application and curing require appropriate preparation and moisture management. Very hot, windy or wet conditions may create additional challenges.
Acrylic rendering systems can offer a range of textures and finishes. Different products within these systems may have particular substrate, temperature, drying and recoating requirements.
Acrylic render should not be treated as a universal solution for every wall or weather condition. It must be suitable for the substrate and applied according to the specified system.
Before making a decision, discuss:
For a more detailed comparison, read our guide to cement render versus acrylic render.
If you are considering an acrylic finish, our choosing a suitable exterior finish guide provides further information to help you understand the available options.
Choosing a suitable date is only one part of the process. The walls must also be ready, materials must be available and the contractor needs to coordinate the work with other trades.
Before confirming your booking, check the following.
The wall should be stable and prepared for the selected rendering system. Loose material, contamination, unresolved cracks and incomplete junction details should be addressed before application.
Confirm which walls are included, the selected render system, the intended colour and texture, and any sample or approval requirements.
Discuss how rain, wind, temperature and direct sunlight will affect the planned work. Allow flexibility for changes in the forecast.
Confirm how fresh render will be protected from weather and damage caused by other trades.
Avoid scheduling painting, coating or other follow-on work too tightly. The required timing should come from the system instructions and actual site conditions.
Scaffolding, deliveries, window installation, roof work and landscaping can all affect when the rendering crew can work effectively.
Ask how the contractor prepares the substrate, handles weather changes, follows manufacturer requirements and addresses any surface defects.
For an overview of available professional house rendering, review the service information before deciding how to proceed.
A well-planned schedule should include more than a start date and estimated completion date. It should account for preparation, weather, application, protection, curing, drying and any follow-on coatings.
A typical planning sequence is outlined below. The actual duration of each stage depends on the project and the products used.
This sequence helps reduce the risk of rushing a stage simply to meet a calendar date.
Even when a contractor is experienced, a poorly planned programme can create unnecessary complications.
Booking by season alone. Spring and autumn may offer favourable periods, but the actual weather conditions matter more than the calendar.
Ignoring the wall's temperature. Air temperature alone may not reflect how hot a wall exposed to direct sunlight has become.
Starting when rain is imminent. Fresh render may be damaged by rain, and protection must suit the selected product.
Assuming every product has the same curing requirements. Cement-based and acrylic systems can require different application, curing and drying procedures.
Painting too early. The wall must meet the coating manufacturer's requirements before painting or applying another finish.
Allowing follow-on trades to damage fresh render. Work involving scaffolding, windows, fixtures and landscaping should be coordinated to protect completed surfaces.
Leaving no flexibility in the programme. Weather changes may require the work to be rescheduled. Allowing reasonable flexibility is better than applying render in unsuitable conditions just to meet a deadline.
Looking at finished projects can help you decide on a colour, texture and overall appearance before committing to a particular finish.
However, photographs show the completed appearance rather than the weather conditions, substrate preparation or curing procedures used during installation. Your own project should still be planned around its materials and site conditions.
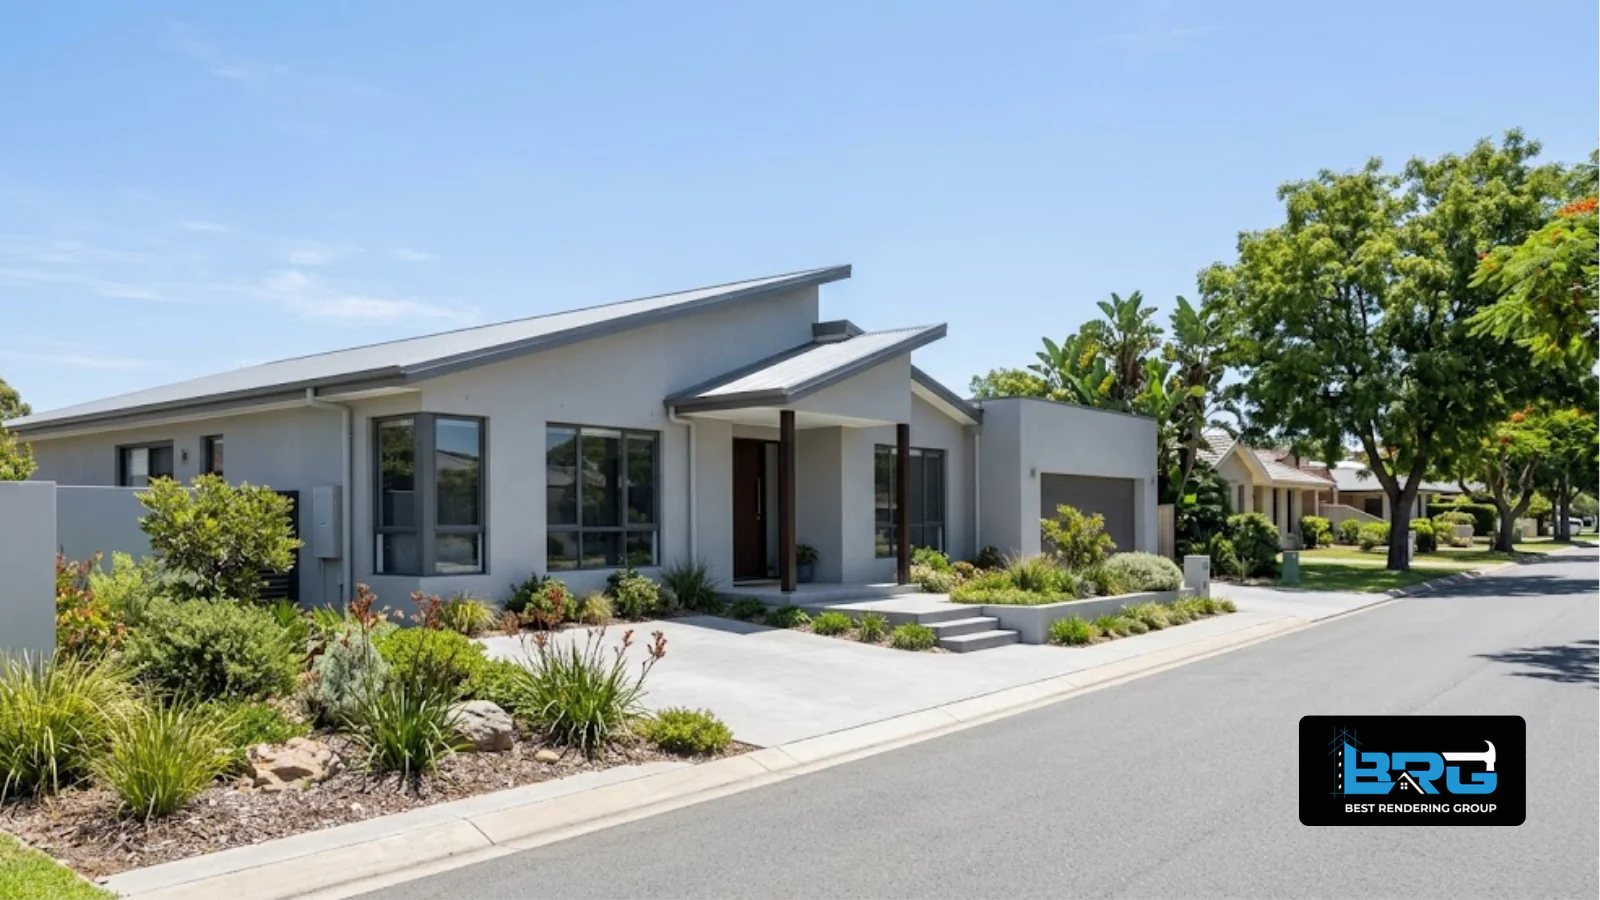
You can view examples of completed exterior rendering to see a finished exterior rendering project in Keysborough.
Reviewing completed work alongside the available product and finish information can help you communicate your preferred result to your contractor.
Weather conditions and site requirements can vary from one job to another, whether you are rendering a new home, renovating an existing façade or completing an extension.
Best Rendering Group provides rendering services across Melbourne's south-east, including:
If you are looking for rendering services across Melbourne's south-east, review the service-area pages to check coverage for your suburb.
Planning ahead allows you to discuss the wall condition, preferred finish, expected schedule and any weather-related considerations before the work begins.
1. What is the best month to render a house in Melbourne?+
There is no single best month for every project. Periods of mild, stable weather in spring and autumn can be favourable, but the actual temperature, rainfall, wind, substrate condition and product requirements matter more than the month itself.
2. Can you render a house in winter in Melbourne?+
Yes, rendering may be possible in winter when the air and substrate temperatures, moisture conditions and forecast meet the selected product's requirements. Cold, wet or frosty conditions can delay work or make application unsuitable, so the contractor should confirm that the conditions are appropriate.
3. Can you render a house in summer?+
Yes, provided the conditions are suitable for the product and the surface can be protected appropriately. Excessive heat, hot walls, direct sunlight and strong winds can cause rapid drying and application difficulties. The contractor should follow the manufacturer's instructions and may need to adjust the work sequence.
4. Should it rain after a house has been rendered?+
Fresh render generally needs protection from rain for the period specified by the manufacturer. Rain can damage some finishes, leave water marks or affect the material's performance. The required protection period varies by system, so check the relevant technical data sheet rather than using a universal timeframe.
5. How long should render dry before painting?+
There is no universal waiting period. Drying depends on the render type, thickness, substrate and weather conditions, as well as the coating being applied. Follow the requirements of both the render and coating manufacturers and confirm that the wall is ready before painting.
6. Does acrylic render dry faster than cement render?+
Drying and curing times vary between products and cannot be compared reliably by render type alone. Some acrylic-based finishes have different drying requirements from cement-based products, but the substrate, application conditions, thickness and manufacturer's instructions all matter.
7. Is a hot day or a windy day worse for rendering?+
Both can create problems. High temperatures can accelerate setting or drying, while wind can increase moisture loss. When these conditions occur together, the risk of rapid drying may increase. Suitability depends on the particular product and the precautions available on site.
8. How far ahead should I book a rendering contractor?+
It is sensible to arrange an assessment and discuss the desired finish before your preferred start date. Allow time for substrate preparation, materials, access, weather changes, curing and follow-on work. Your contractor can advise on the likely programme after reviewing the project's scope and conditions.
The best time to render a house in Melbourne is determined by suitable site conditions, not just the season. Spring and autumn can offer useful opportunities, but summer and winter work may also be possible when the temperature, weather and substrate meet the requirements of the selected rendering system.
Before booking, confirm that the walls are ready, the render product is suitable, the forecast provides an appropriate working window and the schedule allows for curing and drying.
Taking these steps can help reduce avoidable defects, protect the new finish and make the overall project easier to coordinate.
Planning to render your home in Melbourne's south-east? Plan your rendering project with Best Rendering Group to discuss your walls, preferred finish and the right conditions for your job.