
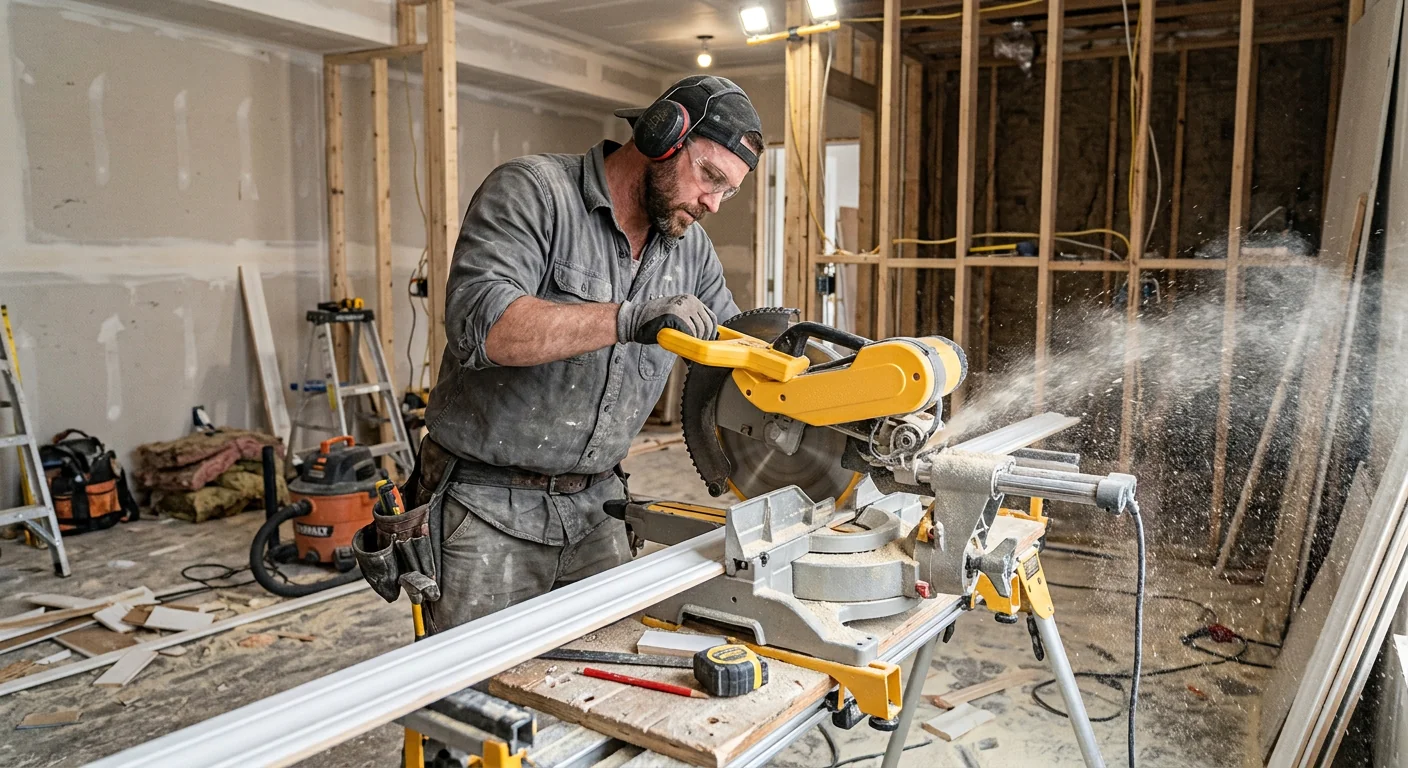
Wall trim moulding is one of the cheapest ways to make a room look pulled together, which is exactly why it keeps showing up in renovation photos and driving so many people to search for it. Before you commit to a style though, it's worth knowing there isn't just one type of wall trim moulding — picture rail, dado rail, panel-style trim and skirting-height detailing all fall under the same broad term but do quite different things to a room. Best Rendering Group fits wall trim moulding across renovations and new builds throughout Melbourne's south east, and getting the style, height and material right up front saves a lot of second-guessing once it's on the wall.
The other thing worth knowing early is that trim moulding is unforgiving of shortcuts in a way a lot of other finishes aren't. Paint hides a multitude of sins on a flat wall. A mitred corner that's a millimetre out, or a run of trim fixed slightly proud of the wall in one spot, catches the eye every single time you walk past it — especially once it's painted a contrast colour, which is exactly the look most people are going for. It's a small job in terms of material cost, but it rewards precision more than almost any other interior finish.
Most jobs fall into one of three categories, and each one changes the proportions of a room slightly differently.
A single horizontal run of trim, usually set higher up the wall around two-thirds of the way to the ceiling. It's a subtle way to add a line of architectural interest to an otherwise plain room, and it's one of the fastest wall trim moulding jobs to complete since it's a single continuous run with fewer corner joints.
Set lower down the wall, generally around a third of the way up, this style visually breaks the wall into two zones and is often paired with a contrast paint colour above and below the rail. It reads more traditional and suits hallways, dining rooms and staircases particularly well.
Multiple vertical and horizontal trim pieces combined into a grid or geometric pattern across a section of wall. This is the style most commonly seen on feature walls and bedheads, and it's the most labour-intensive of the three since every join needs to line up precisely across the whole panel.
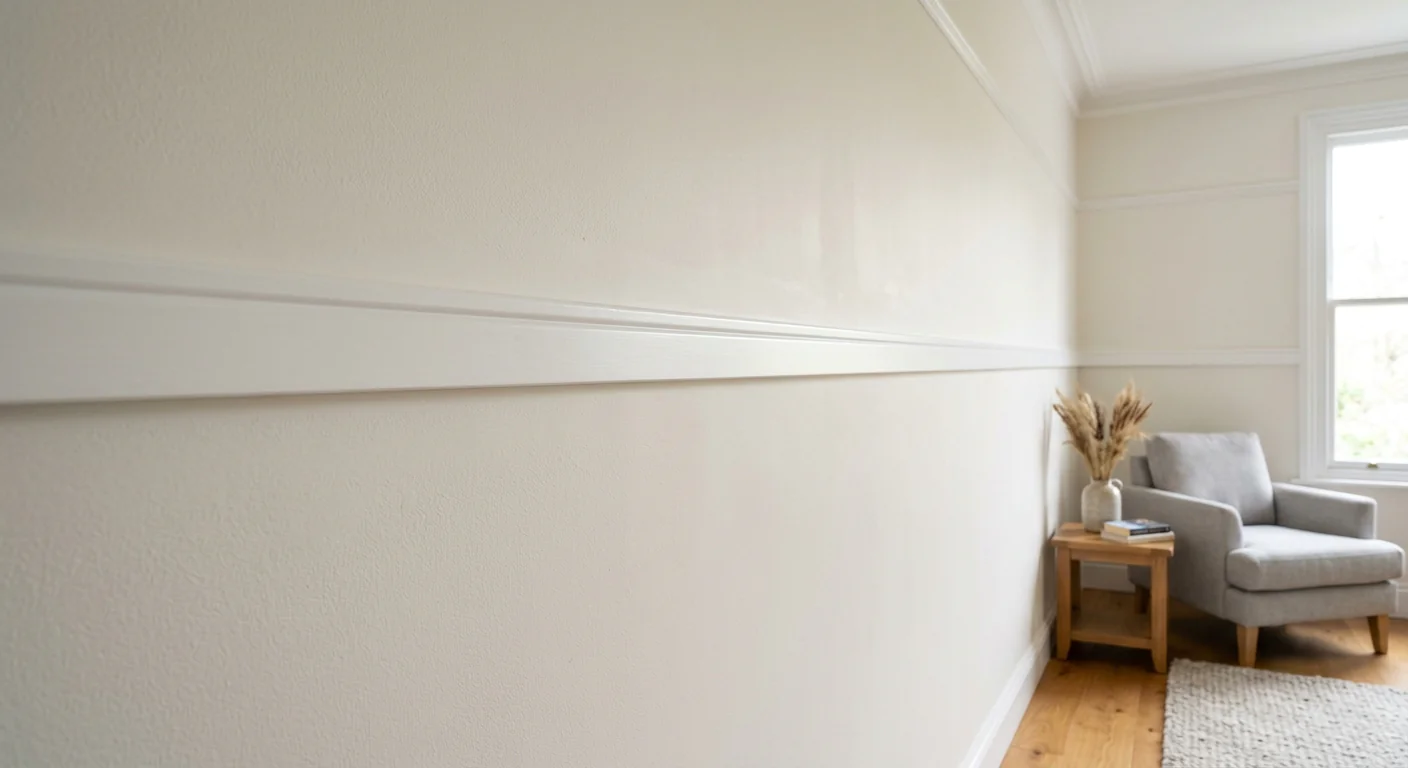
Solid timber trim is the traditional choice and still looks fantastic, but it's more expensive, needs careful sealing, and can move slightly with humidity, which occasionally shows as a hairline gap at a joint after the first year. Primed MDF trim is by far the most common choice for interior wall trim moulding today — it's stable, comes pre-primed ready for paint, cuts cleanly for tight mitres, and costs noticeably less than solid timber for a very similar finished look.
PVC and polymer trim profiles are worth considering specifically in bathrooms, laundries and other damp-prone areas, since they don't swell or warp the way MDF can if they're exposed to moisture over time. It's a smaller niche use case, but it matters if the trim run is going anywhere near a shower recess or a laundry sink. For anything genuinely external — and this trips a lot of people up — none of these interior materials are suitable at all; that's a job for a cement-based moulding system run alongside proper rendering work instead. We fit interior trim across homes from Cranbourne through to Narre Warren and Officer, and material choice is almost always the first real decision that shapes how the job holds up. For a full breakdown of our decorative and architectural moulding options, visit our moulding services page.
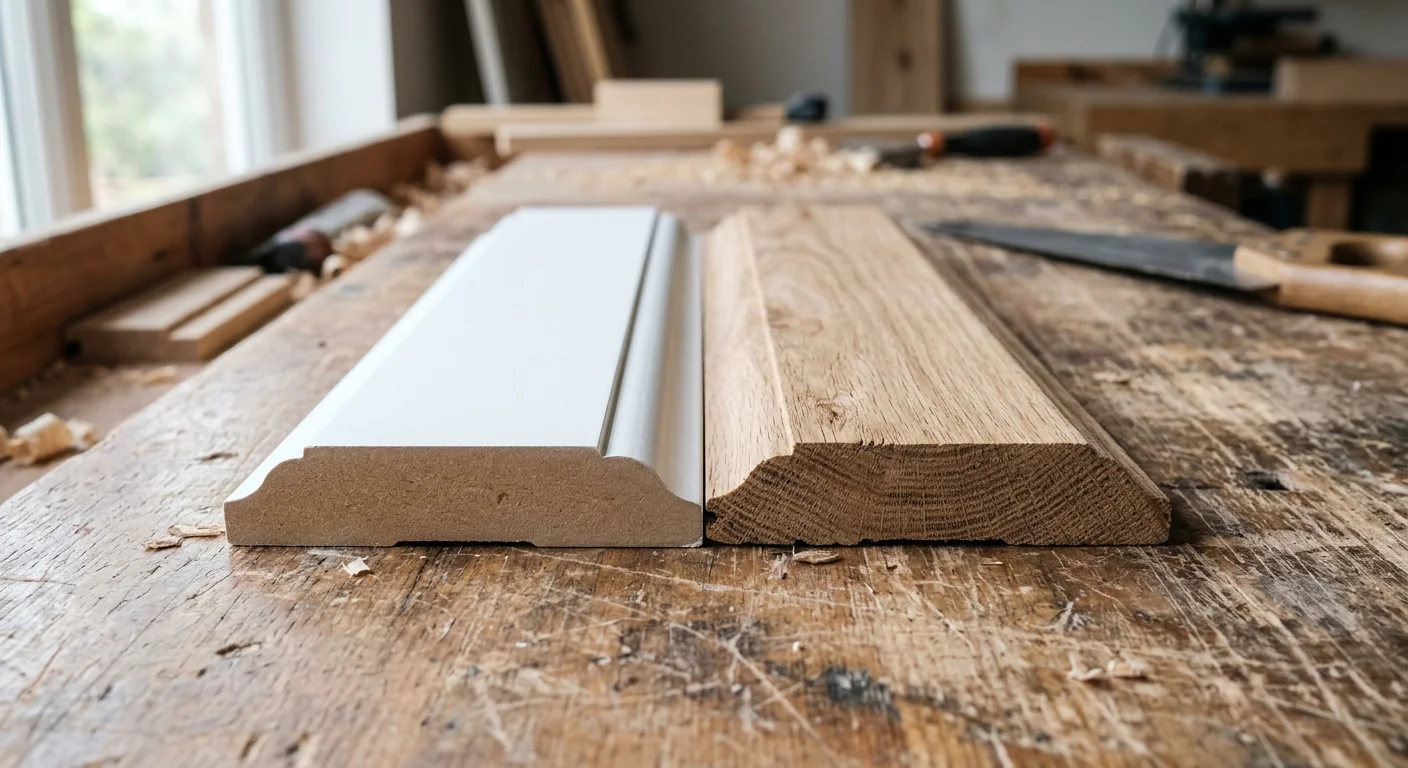
Panel and rail spacing should be planned and marked out on the wall before any cutting starts, not eyeballed as they go.
Ask to see photos of previous corner joints. This single detail tells you more about install quality than almost anything else.
Trim needs to be fixed into studs or with the right wall anchors and adhesive combination, not just glued and hoped for.
All nail holes, joints and edges should be filled and caulked to a paint-ready standard as part of the install, not left for you to fix.
Pricing scales with the amount of wall covered and how detailed the design is. A single picture rail run costs a lot less than a full panelled feature wall with dozens of mitred joins. These figures are a general guide only.
How high should wall trim moulding be installed?+
It depends on the style. Picture rail is generally set around two-thirds of the way up the wall, roughly 300 to 450mm below the cornice depending on ceiling height. Dado or wainscot rail sits lower, usually around a third of the way up, often between 900mm and 1,000mm from the floor. Panel-style trim doesn't follow a fixed rule and is designed around the specific wall and furniture layout instead.
Is wall trim moulding a good DIY project?+
A single, simple run on one flat wall is a reasonable DIY project if you're comfortable with a mitre saw. Anything involving multiple corners, a full room, or a panelled feature wall gets significantly harder to keep consistent by hand, and small errors compound quickly across a repeating pattern. Most people find the finished result looks noticeably tighter with a professional install once there's more than one or two corners involved.
Should wall trim moulding be painted before or after installation?+
Most installers prime the trim before it's fixed and then apply the final coat once it's up, filled and caulked. Painting fully before installation can leave visible touch-up marks around every joint and fixing point, while painting entirely after fixing gives a cleaner, more consistent finish overall.
Can wall trim moulding be installed in a bathroom or laundry?+
Yes, but the material choice matters more in these rooms. Standard MDF trim can swell or lift if it's exposed to consistent moisture, so PVC or polymer trim profiles are the better option anywhere near a shower, bath or laundry sink. Good ventilation in the room also makes a noticeable difference to how well any interior trim holds up over time.
Why do wall trim moulding joints sometimes crack or open up over time?+
This is usually down to timber or MDF responding to seasonal humidity changes, or a joint that wasn't properly filled and caulked in the first place. A hairline gap opening at a mitre after the first year is common with solid timber especially, and it's generally a quick fix with flexible caulk rather than a sign anything's structurally wrong.
Wall trim moulding is genuinely one of the best value-for-money upgrades you can make to a room, but the style and material decisions made before a single length gets cut matter more than most people expect. A picture rail, a dado rail and a full panelled feature wall are three very different jobs dressed up in the same search term, and getting the height, spacing and material wrong is a lot more expensive to fix after the fact than to plan for properly up front.
Best Rendering Group installs wall trim moulding across renovations, new builds and commercial fit-outs throughout Melbourne's south east, working directly with homeowners, builders and interior designers on everything from a single picture rail run to a full grid-panelled feature wall. With more than a decade of hands-on trade experience and fully insured teams on every job — details worth confirming directly before booking — the mitres and fixing are never rushed just to get the job ticked off.